How to Make a DIY Pedicure at Home
Following the steps laid out in this guide, you can give yourself a professional-grade pedicure in the comfort of your own home.
In order to complete this project, you will need a few supplies and some free time.
The supplies you will need are probably already in your house, and if not, they are easy to find and not very expensive.
With just a few simple steps, you can have soft, smooth feet that look and feel great.
Why Should I Do My Own Pedicure at Home?
Pedicures are a great way to take care of your feet and make them feel better.
But pedicures can be expensive, and you might not always have the time or money to go to the salon.
You don't have to pay someone else to do it, and you can do it whenever you want.
Some people might feel more comfortable doing their own pedicure because they know what's in all the products they are using.
They also know how long to leave each product on their feet, how much of each product they should use, etc.
If you want to get a pedicure but don't want to spend the money, it's easy enough to do it at home.
All you need is a few supplies and some time. There are many reasons why people want to do their own pedicure at home, such as:
- It’s cheaper than going to a salon
- It’s more convenient
- They can do it on their own time schedule
- They don’t have to worry about driving to a salon or waiting for an appointment
- They can get the perfect color they want without having to go through the hassle of finding a match in the salon.
Is Making a DIY Pedicure Good for Feet Hygiene?
There are many ways to make a DIY pedicure. Some people use nail polish, some use foot scrub, and some people use both.
A pedicure is not bad for your feet if done correctly.
When done correctly, it can be beneficial for your foot's health as it removes dead skin cells and dirt from between toes and on the soles of the feet.
However, there are risks such as infections from improperly sterilized tools or cuts from unclipping ingrown toenails.
To avoid these risks, it is important to be cautious and take the necessary precautions when giving yourself a pedicure.
Gather Your Pedicure Supplies
There are many different types of pedicures, and you will need to gather the supplies that are appropriate for the type of pedicure that you want.
For a basic pedicure, you will need:
- A nail file
- Nail clipper
- Cuticle pusher
- Cuticle oil or lotion
- Moisturizing lotion
- Foot scrubber
How to Do a Pedicure at Home
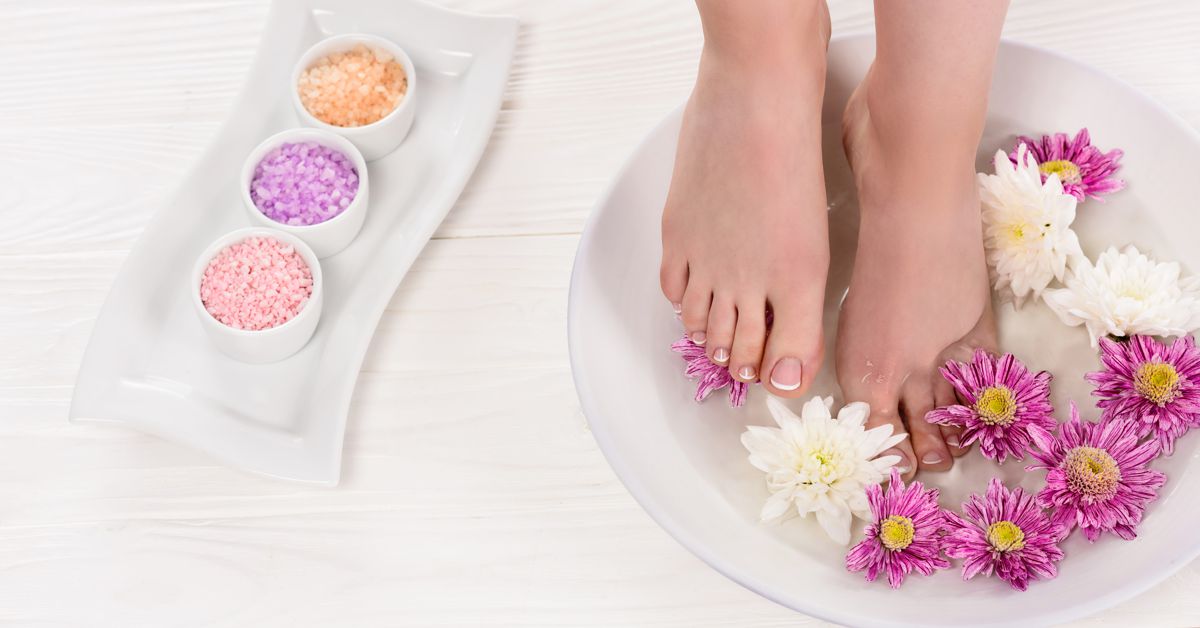
Step 1: Soak Your Feet
The best way to remove dead skin and calluses from your feet is to soak them in warm water for about 5 minutes beforehand.
This will soften the skin and nails, making it much easier to slough off any rough patches.
Not only will your feet feel softer and smoother afterward, but they'll also be less likely to become irritated or hurt during the exfoliation process.
Step 2: Remove Dead Skin
An exfoliating scrub can help you to get rid of dry skin on your heels and toes by removing dead skin cells from the surface of your skin.
This can help to improve the appearance of your skin and make it feel softer.
Exfoliating scrubs typically contain ingredients like salt, sugar, or coffee grounds, which work to break down the bonds between dead skin cells.
Step 3: Trim Your Toenails
To maintain healthy feet, it is important to trim your toenails on a regular basis.
This will help to prevent ingrown toenails and other problems that can occur when nails are allowed to grow too long.
Step 4: Apply Lotion
It is important to apply lotion on your feet and nails after you have finished washing them.
This will help to keep your feet and nails moisturized and prevent them from becoming dry and cracked.
Lotion helps to lock in moisture, which is especially important during the winter months when skin can become dry and cracked more easily.
Step 5: Paint Your Toenails
If you want, you can paint your nails with nail polish. This is an optional step, but it can help add a bit of extra flair to your look.
There are lots of different colors and styles of nail polish to choose from, so take your time in selecting the perfect shade for you.
Step 6: Apply Top Coat
When you're nearly finished painting, it's time to add the final touch: the top coat. This will help protect your paint job and make it look even more polished.
Thanks for reading!
Thanks for reading! If you found the information in this article helpful, please save our site in your bookmarks and share it with others.
Be sure to check out our beauty section here on Woman Vitality for more articles just like this one.

Leave A Comment